Friday, July 31, 2020

Altered wood slice.

Hello,

I would like to share my DT project made for the July mood board at 'Splashymix Challenge'.


I made a mixed media home decor piece with a wood slice. 


I primed the surface with gesso and created texture. I added blue and pink sprays on the base and stamped with Archival ink. I added lace, a few die cuts, chipboards, fussy cut flowers, handmade paper flowers, etc. I added a few clear drops and crystal drops also. I brushed mini stones here and there to create texture. 

Here are a few more pictures:


Here is a video of the process:


Dies used:


Thank you for visiting my blog. Hope you like my project. 

Till next time - Stay safe and craft more.

Gayatri


Monday, July 27, 2020

Sally's Christmas Friends - DT post

Hello,

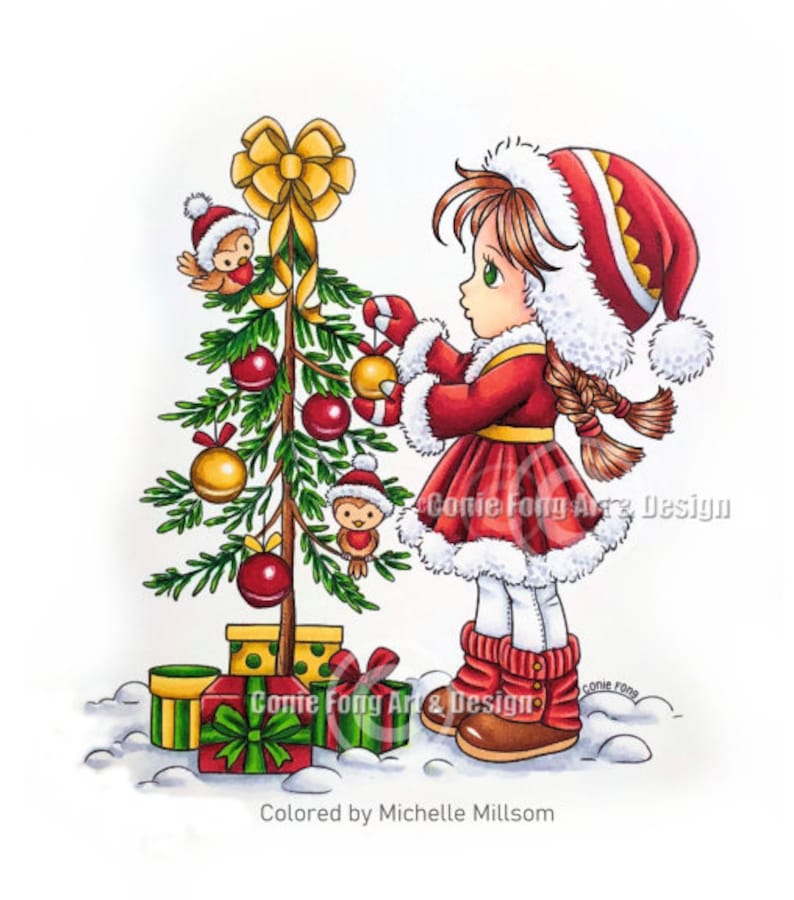
I have a DT Inspiration post for Conie Fong, using the Digi - 'Sally's Christmas Friends'.

I colored the image with Copic markers. I always give a final touch of shading with Polychromos for adding depth.


I prepared a card base 6 " x 6" and layered it with pattern paper from Mintay paper - 'Home for Christmas'. I trimmed the image and layered it with red cardstock. I added a few fussy cut elements from the paper pack and die cuts. 


Hope you liked my card. Till next time - Stay safe and enjoy crafting!

Gayatri

You can find the image here: Sally Christmas Friends


Monday, July 20, 2020

DT post for Conie Fong

Hello,

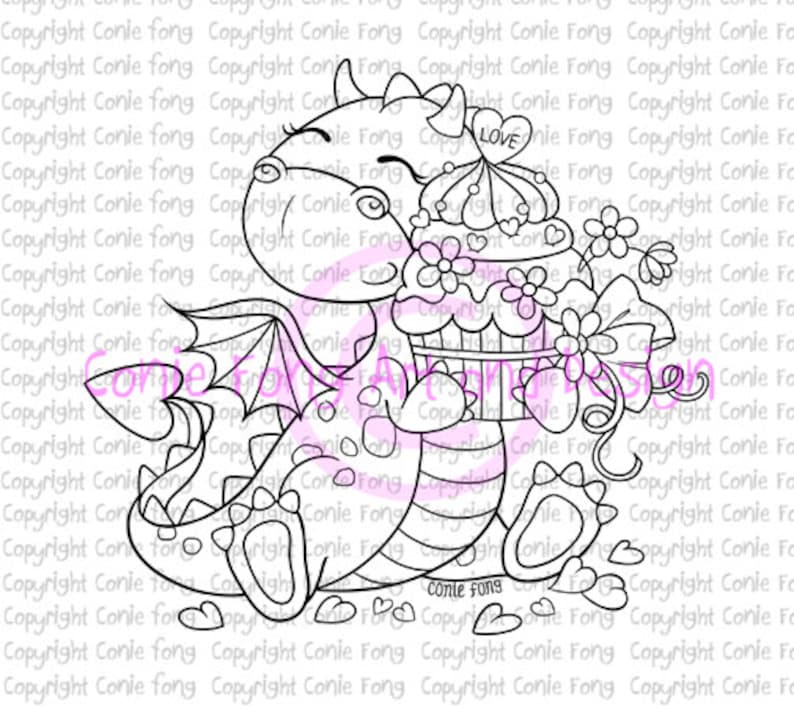
Today I am sharing my DT inspiration card for Conie Fong. I made this cute little card using digital image from - Tori with Heart cake.

I colored the image with Copic markers. My little Tori - the dragon is all colorful.


I added it to an A2 size card base. I added my handmade flowers as embellishments along with some die cuts and clear sequins.


Hope you like this cute card. Thank you for joining me.

Till next time - Stay safe and Happy crafting!

Gayatri

Stamp used:


Wednesday, July 1, 2020

Accordion Album

Hello,

Here I am with another DT inspiration for Mini Album Makers Challenge.

Today I have a simple Accordion or zig-zag fold album. The album measure 5.5 inches x 5.5 inches and I have used Scrapboys 'Flowers Story' paper pack.

I have a pictorial tutorial also on how I created it. Here are a few picture of the album.


How I made it:

  • Take 5 pieces of kraft colored cardstock measuring 11 inches long by 5.5 inches wide. You can have more pieces. It depends on how many pictures your album has to hold.


  • Score on the 11 inches side at 5 1/2 mark and fold. Burnish the folds. Do it for all the pieces. 

  • Stick the flaps of the pages as shown below. the valley of the fold and mountain fold should be facing opposite. 


  • Continue with the rest of the pages.


  • The end flaps should be facing you. Take two pieces of chipboard measuring 5.5" x 5.5". Cover them with pattern paper. 


  • Stick the end flaps to the inside of the chipboard. Now you have the front and back of the album.


  • Decorate the pages as you wish.
Here is a flip through of the album:


Hope you liked my project. Do check the Mini album makers Challenge blog for more inspiration from our DT members and share your projects.

Till next time - stay safe and craft more.

Gayatri 

Tuesday, June 30, 2020

You are amazing

Hello,

Here is a card made using the stamp set 'Wall Paper Art' from Altenew. I love the big flowers since they are perfect for water coloring.

I stamped the flowers onto watercolor paper with Antique linen distress ink and colored the images with Zig Clean Color brush pens. I cut them with the co ordinating dies.


I took another piece of watercolor paper and created the background and splattered blue and brown colors. I adhered the die cut elements and added a few copper-colored sequins. 


 I stamped the sentiment on a dark blue piece of cardstock with versamark and embossed it with white embossing powder.

I hope you liked my card. Till next time - Happy crafting!

Linking this for the following June Altenew challenge:


Thursday, June 25, 2020

A sweet bunny card - CAS style


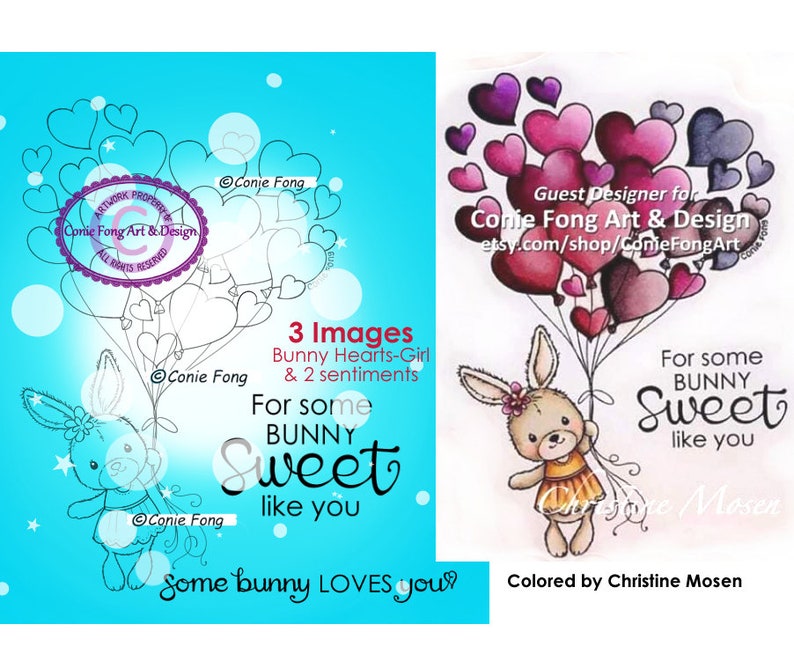
Here is my DT inspiration for Conie Fong using her Digi - Bunny Hearts - Girl.


I colored the image with Copic markers. I created a sky scene with distress inks and mounted it on the panel. To finish off I added a few clear sequins and the sentiment from the bundle. 


Image used:

Bunny Hearts - Girl


Till next time - stay safe and happy crafting!

Gayatri


Tuesday, June 16, 2020

Envelope Album Tutorial

Hello,

Today I am sharing a tutorial for the envelope album made as DT Inspiration for June. Here is the album I made:


This is a long tutorial with lots of measurements. I am sharing as well video tutorial for album. I hope you enjoy it.

Materials required:

Envelope punch board, 12 x 12 inches cardstocks, scissors, glue, a scoring board.


The main envelope is box type measuring 7 1/2 x 5 5/8 inches with 1/2 inch depth. 
  • For this take a square card stock measuring 10 3/4  x 10 3/4 inches. 
  • Make the first punch at 4 3/8, score, and second punch at 5 inches, score. 
  • You will not be able to score completely since the paper will hangover beyond the board. (Don't worry, that will be taken care of when we punch and score all sides. )


You will end up with two parallel score lines like this:


  • Rotate the paper 180 degrees and score and punch on the opposite edge. 


  • Now reverse the cardstock and follow the same steps as above. 
  • Repeat on all four sides. Snip off all the corners.

  •   Fold and burnish all the creases. 
  • You have the main box envelope measuring 7 1/2 inches x 5 5/8 inches. 


  • For the two side envelopes, take two pieces of cardstock measuring 9 1/4 inches. Punch at 4 3/8 and score. Follow the scoreline, and punch and score on all four sides.
  • Fold and burnish all the fold lines and you will have two side envelopes measuring 6 1/4 inches x 5 5/8 inches.

  • Cut off one of the flaps from the 5 5/8 inches and attach it to the matching side flap of the box envelope. 

  • Repeat for the other side also. You will now have the album ready.

  • You can decorate and add pages and pockets as you wish. 
Here is the video tutorial for the album. I have shared how I added the pages also.


Tips:

We always trim the pattern paper 1/8 inch less than the size of the card stock. But when you are decorating the triangular flaps of the envelope, the measurements are different.
  • Measure from the base of the flap. Here we have 5 3/4 as measurement. 


Take a square piece of pattern paper measuring 5 3/4 inches and cut diagonally. You will have two triangular pieces of pattern paper. 


Mark with a pencil on the corners where you need to trim.


Trim the edges and you have the layer for the flaps.


That was a long post with all the details. I hope you all found this tutorial helpful and will give it a try.

Till next time, stay safe and craft more.

Gayatri

Mixed Media layout

 Hello, Today I am sharing my DT inspiration post for Splashymix Challenges. I have made a layout measuring 8"x 8". The mood board...