Hello ,
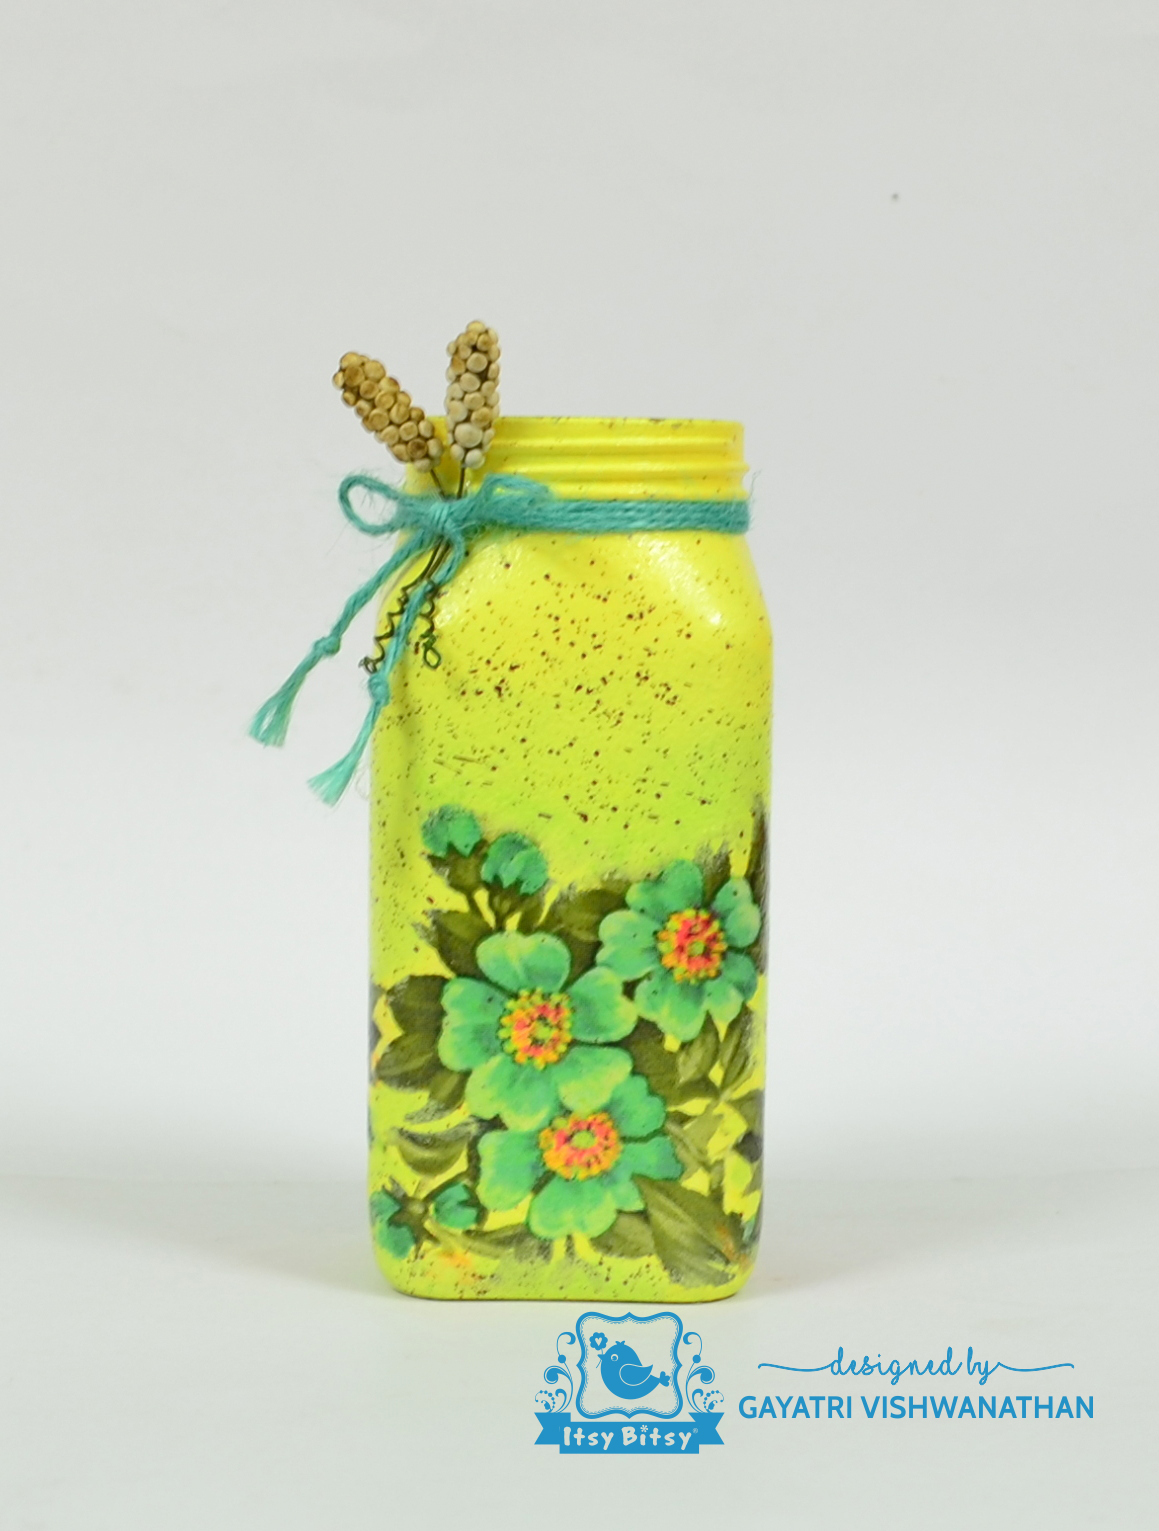
Over the weekend I just gave an old bottle, a makeover. I had this honey bottle which I thought could be changed to a home decor piece.
This project is my DT inspiration post for Itsybitsy.
I first cleaned the bottle well and applied 'Lemon Chiffon' chalk paint. I gave it two coats to get a good coverage. (when applying two coats, allow sufficient time for the first coat to dry before applying the next).

I cut the required portion of the design from the decoupage napkin - 'Forest Flowers'. I glued the napkin using Little Birdie Decoupage Glue.

I used a cling wrap to smoothen out the napkin and to remove wrinkles and trapped bubbles.

I added the napkin piece on all four sides and gave a top coat of Decoupage Glue over all of them.

I then colored the surrounding areas to blend with the napkin. I used Lemon Chiffon and a touch of Wild Moss chalk paints to get the desired color. I also sprayed brown acrylic paint for an added interest. Finally I gave three coats of varnish allowing at least 1/2 -1 hour drying between each coat. I added twine and embellishment from Little Birdie.
Here are few pictures of my project:


You can find links to the products used in my itsybitsy post - here.
Till next time , Happy Crafting!
Over the weekend I just gave an old bottle, a makeover. I had this honey bottle which I thought could be changed to a home decor piece.
This project is my DT inspiration post for Itsybitsy.
I first cleaned the bottle well and applied 'Lemon Chiffon' chalk paint. I gave it two coats to get a good coverage. (when applying two coats, allow sufficient time for the first coat to dry before applying the next).
I cut the required portion of the design from the decoupage napkin - 'Forest Flowers'. I glued the napkin using Little Birdie Decoupage Glue.
I used a cling wrap to smoothen out the napkin and to remove wrinkles and trapped bubbles.
I then colored the surrounding areas to blend with the napkin. I used Lemon Chiffon and a touch of Wild Moss chalk paints to get the desired color. I also sprayed brown acrylic paint for an added interest. Finally I gave three coats of varnish allowing at least 1/2 -1 hour drying between each coat. I added twine and embellishment from Little Birdie.
Here are few pictures of my project:


You can find links to the products used in my itsybitsy post - here.
Till next time , Happy Crafting!
Gayatri


